Use less text on mobile!
EXACTLY WHAT YOU NEED
EVERYTHING CUSTOMIZABLE
Use less text on mobile!
FEEL THE LUXURY
CONTACT US TO GET A QUOTE AS YOU NEED
EXACTLY WHAT YOU NEED
EVERYTHING CUSTOMIZABLE
CONTACT US & GET YOUR QUOTE
FEEL THE LUXURY
By Xactz Packaging
Jun 2, 2026
Add a comment
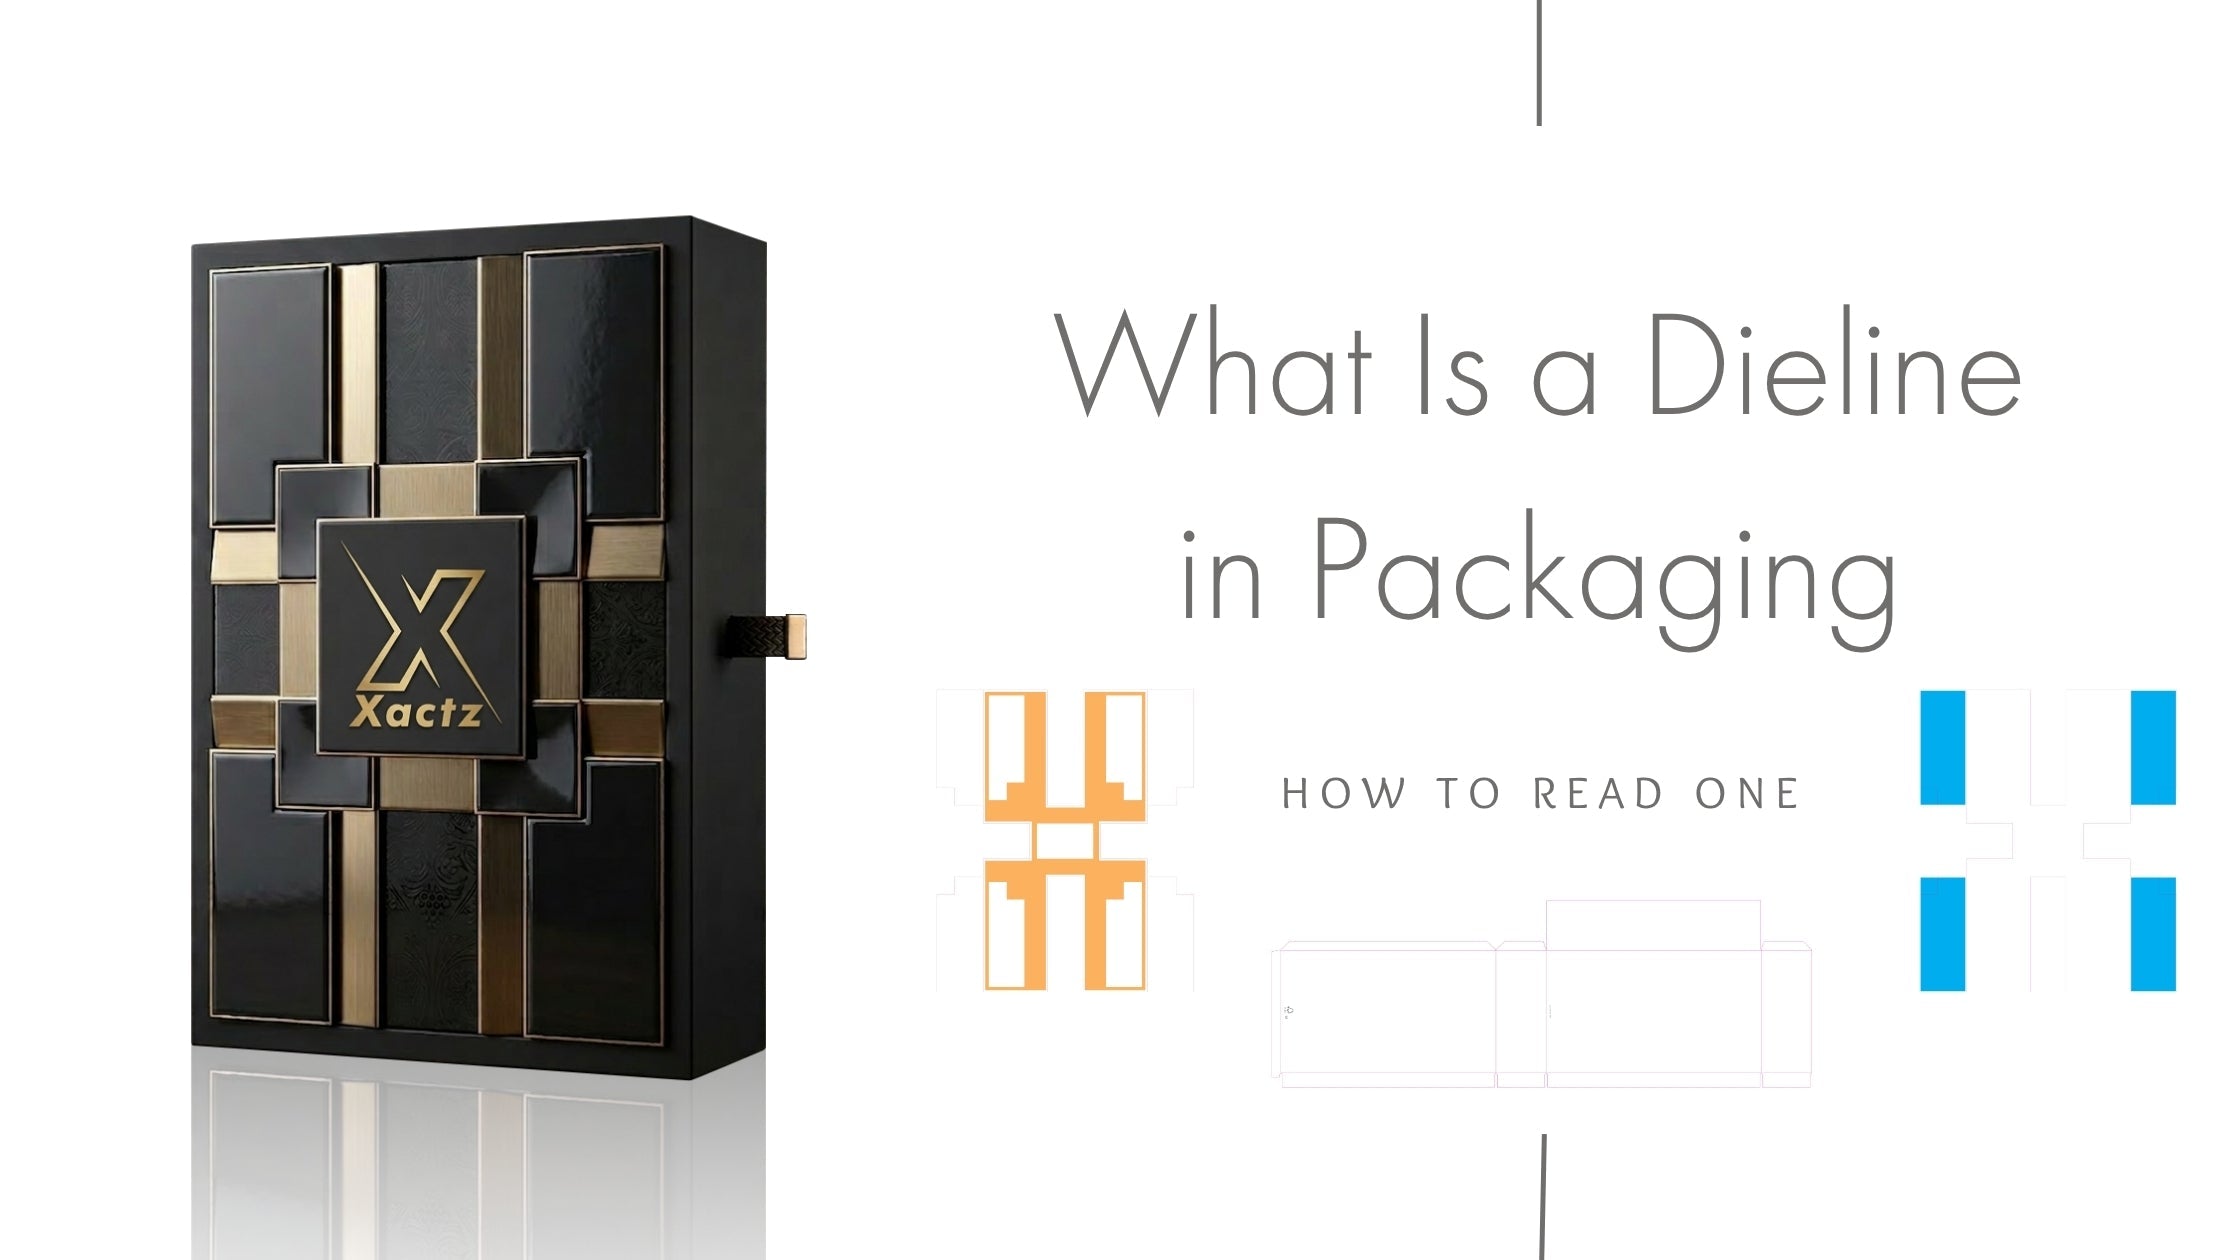
A dieline is a flat, two-dimensional technical template that shows every cut, fold, crease, bleed, and safe zone of a packaging structure, before a single box is printed or produced.
Think of it as the architectural blueprint of your packaging. Just as a building cannot be constructed without a set of plans, a custom packaging box cannot be manufactured without a dieline. It is the document that bridges the gap between your brand's visual identity and the physical, three-dimensional object that will sit on a shelf, arrive in the post, or be handed to a customer.
Every side of the box, every flap, every glue tab, every fold, all of it is visible on the dieline in its flattened form. When you place your artwork onto a dieline correctly, you can see exactly how your design will wrap around the finished structure before a single sheet of board is cut.
Dielines are not a formality. They are the single most important document in the pre-production stage of any custom packaging project, and understanding why helps you use them correctly.
They prevent expensive errors before production begins. A dieline allows designers, brand owners, and manufacturers to review the full layout of the packaging, artwork, structure, typography, and dimensions, and identify any issues before the design is finalised. Catching a misaligned logo, an oversized panel, or a text element sitting in a fold zone at the dieline stage costs nothing to fix. Catching the same error after a production run has been completed costs the entire run.
They define the physical structure of the box. The dieline is not just an artwork guide, it is the structural specification. The cut lines define the exact final dimensions of every panel. The fold lines define where the board will be creased. The glue tabs define where the structure is bonded. Every physical characteristic of the finished box is encoded in the dieline.
They are the manufacturing instruction. When your confirmed dieline reaches the production floor, it is used to programme the die-cutting machine, the piece of equipment that cuts the flat board into the exact shape of your packaging. The die board is created directly from your dieline. If the dieline is wrong, the die board is wrong, and every unit cut from it will be wrong.
They are the communication layer between brand and manufacturer. A dieline is the universal language of packaging production. Whether your manufacturer is in Shenzhen, Milan, Birmingham, New York or Dubai, a correctly prepared dieline communicates your structural and artwork requirements without ambiguity, eliminating the back-and-forth that delays projects and increases cost.
A dieline consists of several distinct line types, each shown in a different colour and serving a specific function. The exact colour conventions may vary slightly between manufacturers and software platforms, but the core elements are consistent across the industry.
| Line Type | Typical Colour | What It Means |
|---|---|---|
| Cut line (trim line) | Solid black | Where the die-cutting machine cuts the board, the exact outer boundary of the finished packaging |
| Fold line (crease line) | Solid red | Where the board will be creased and folded to form the three-dimensional structure |
| Bleed line | Solid green | The outer boundary of the bleed area, artwork must extend to this line to prevent white edges after cutting |
| Safe zone (margin line) | Solid blue or dashed | The inner boundary, all critical artwork, text, and logos must stay inside this line |
| Perforation line | Dashed | Where the board is partially cut to allow tearing or opening, used for tear strips, perforated tabs, and easy-open features |
| Glue tab | Shaded or marked area | The flap that is bonded during assembly, no print-critical artwork should be placed here |
| Score line | Dotted | A partial cut that guides folding without cutting through, used for thicker board grades |
Each of these lines exists on a separate layer in the design file. When you submit artwork to a manufacturer, the dieline lines and the artwork must be on separate, clearly labelled layers, so the production team can isolate the structural specification from the print content.
Reading a dieline for the first time can feel disorienting, a flat, unfolded shape that looks nothing like the finished box. Here is how to approach it systematically.
Step 1 : Identify the panels. Every face of the finished box is a panel on the dieline. For a standard tuck-end folding carton, you will see a front panel, a back panel, two side panels, and a series of top and bottom flaps. Identify each panel and label it mentally before you look at anything else.
Step 2 : Trace the cut lines. The cut lines define the outer boundary of the entire structure. Everything outside the cut lines will be removed during die-cutting. Everything inside is your packaging.
Step 3 : Identify the fold lines. The fold lines show you where the flat structure will be creased and folded into its three-dimensional form. Follow the fold lines to understand how the flat dieline becomes a box, which panels fold inward, which flaps tuck, and where the glue tabs bond.
Step 4 : Locate the safe zone. The safe zone is the inner boundary, the area within which all critical artwork must sit. Text, logos, barcodes, and any design element that must not be cut off or obscured by a fold must be placed inside the safe zone on every panel.
Step 5 : Check the bleed area. The bleed area is the space between the cut line and the bleed line. Background colours, images, and non-critical design elements must extend to the bleed line, so that after cutting, there are no white edges visible on the finished box.
Step 6 : Identify the glue tabs. Glue tabs are the flaps that are bonded during assembly. No critical artwork should be placed on a glue tab, it will either be hidden inside the structure or covered by adhesive.
Step 7 : Visualise the fold. Once you have identified all panels, fold lines, and tabs, mentally fold the structure, or import it into a 3D visualisation tool, to confirm that your artwork reads correctly on every face of the finished box.
The safe zone is the single most critical area on any dieline, and the most frequently misunderstood by brand owners and designers who are new to packaging.
The safe zone is the inner boundary of each panel, typically set 3–5mm inside the cut line. It defines the area within which all critical artwork must be placed. Critical artwork means: logos, brand names, product names, ingredient lists, barcodes, QR codes, legal text, nutritional information, and any other element that must be fully visible and legible on the finished box.
Why the safe zone exists: During die-cutting and folding, there is always a small degree of mechanical tolerance, the board shifts fractionally as it passes through the machine. The safe zone accounts for this tolerance. An element placed exactly on the cut line may be partially cut off on some units. An element placed inside the safe zone will be fully visible on every unit, regardless of mechanical variation.
The safe zone rule:
Bleed is one of the most commonly misunderstood concepts in packaging artwork preparation, and getting it wrong produces one of the most visible production errors: a thin white edge running along the cut edge of the finished box.
What bleed is: Bleed is the extension of your background artwork beyond the cut line. The standard bleed for packaging is 3mm (0.125 inches) past the cut line, meaning your background colour, image, or pattern must extend 3mm beyond the edge of the finished panel on every side.
Why bleed is necessary: When the die-cutting machine cuts the board, there is a fractional degree of movement in the material. If your background colour ends exactly at the cut line, that movement will expose a thin strip of unprinted board along the cut edge, a white line that is immediately visible and communicates poor print quality. Extending the artwork to the bleed line ensures that even with mechanical tolerance, the background colour runs fully to the edge of every panel.
The bleed rule in practice:
These are the most frequent dieline errors that cause production delays, sample rejections, and reprints, and how to avoid every one of them.
Mistake 1 : Artwork placed outside the safe zone Text, logos, or barcodes placed between the safe zone and the cut line risk being partially cut off or obscured by a fold. Always check every panel individually, not just the front face.
Mistake 2 : No bleed or insufficient bleed Background colours that end at the cut line will show a white edge on the finished box. Extend all background artwork to the bleed line, minimum 3mm past the cut line on every edge.
Mistake 3 : Artwork placed on fold lines A design element, particularly fine text or a thin rule, placed directly on a fold line will be distorted when the board is creased. Keep critical design elements away from fold lines, and check every fold line on every panel.
Mistake 4 : Dieline and artwork on the same layer The dieline lines and the artwork must be on separate, clearly labelled layers in the design file. If they are merged, the production team cannot isolate the structural specification, and the file will be returned for correction.
Mistake 5 : RGB colour mode instead of CMYK Packaging is printed in CMYK or spot colours, not RGB. An artwork file submitted in RGB will produce unpredictable colour shifts when converted for print. Convert all files to CMYK before submission, and specify any Pantone spot colours by PMS code.
Mistake 6 : Low-resolution raster images Raster images, photographs, textures, bitmap graphics, must be at minimum 300 dpi at the final print size. A 72 dpi screen-resolution image will print visibly pixelated. Use vector artwork wherever possible, and check the resolution of every raster element before submission.
Mistake 7 : Using a generic template instead of the manufacturer's dieline Every packaging format, every board grade, and every machine has slight dimensional variations. A generic dieline downloaded from the internet may not match the exact specifications of your manufacturer's tooling. Always use the dieline provided by your manufacturer, or request one before you begin artwork.
Mistake 8 : Not accounting for glue tabs Artwork placed on glue tabs will be hidden inside the structure or covered by adhesive. Check the location of every glue tab on the dieline and ensure no critical artwork is placed there.
Every packaging format has a different dieline structure. Understanding the dieline for your specific format is essential before you brief a manufacturer or begin artwork.
| Format | Dieline Characteristics | Key Considerations |
|---|---|---|
| Tuck-end folding carton | Front, back, two side panels, top and bottom tuck flaps, dust flaps | Most common format, check tuck flap depth and dust flap clearance |
| Magnetic closure rigid box | Separate lid and base dielines, lid wrap, base wrap, and board substrate | Lid and base are produced separately, two dielines required |
| Drawer box (sliding) | Outer sleeve dieline + inner tray dieline | Two separate structures, sleeve and tray must be dimensioned to fit together precisely |
| Lift-off lid box | Lid dieline + base dieline, precision-fit tolerance critical | Lid must fit the base with controlled resistance, tolerance is tighter than folding carton formats |
| Book-style box | Spine, front cover, back cover, interior panels | Spine width is determined by board thickness, must be calculated precisely |
| Window-cut carton | Standard folding carton dieline with die-cut window aperture | Window position and size must be specified, PET film insert registered to window aperture |
| Belly band | Simple flat wrap, width, circumference, and overlap specified | Must be dimensioned to the exact circumference of the box it wraps |
For rigid box formats, magnetic closure, drawer box, lift-off lid, the dieline process is more complex than for folding cartons, because the lid and base are separate structures, each with their own dieline, and the dimensional relationship between them must be engineered to a precise tolerance.
Preparing artwork correctly for a dieline is the step that determines whether your project moves smoothly from design to production, or stalls in a cycle of corrections and resubmissions.
Use the manufacturer's dieline template. Never begin artwork on a generic template. Request the dieline from your manufacturer before you start, it will be dimensioned to their exact tooling and production specifications.
Work in Adobe Illustrator. Dielines are vector documents. Adobe Illustrator is the industry standard for dieline artwork preparation. InDesign can be used for text-heavy layouts, but the final file should be exported as a flattened PDF that preserves vector paths. Artioscad is the specialist packaging CAD tool used by many manufacturers for structural dieline creation.
Set up your document correctly.
Check every panel individually. Do not review your artwork only on the front face. Open every panel on the dieline and check that all critical artwork is inside the safe zone, all backgrounds extend to the bleed line, and no design elements sit on fold lines or glue tabs.
Request a 3D mockup before approving. Before you sign off on the dieline, import it into a 3D visualisation tool, or ask your manufacturer to provide a digital 3D mockup, so you can see exactly how the artwork will read on the finished, assembled box.
The single most valuable step in the dieline review process, and the one most frequently skipped, is 3D visualisation.
A flat dieline is a technical document. It shows you the structure, the dimensions, and the artwork placement, but it does not show you what the finished box will look like. A 3D visualisation does.
What 3D visualisation reveals:
Tools used for 3D dieline visualisation:
A 3D visualisation is not a substitute for a physical sample, but it is an essential intermediate step that catches errors before the physical sample stage, saving both time and cost.
Understanding what happens to your dieline once it reaches the production floor explains why accuracy at the artwork stage is non-negotiable.
Stage 1 : Pre-press. The manufacturer's pre-press team receives your artwork file and checks it against the dieline specification: bleed, safe zone, colour mode, resolution, layer structure, and dimensional accuracy. Any issues are flagged and returned for correction before the file is passed to print.
Stage 2 : Plate or screen making. For offset printing, the standard process for premium packaging, printing plates are made from the approved artwork file. One plate per colour channel. The dieline registration marks ensure that each colour plate is aligned correctly to the others and to the structural specification.
Stage 3 : Printing. The board is printed using the approved plates. Colour is checked against the approved proof at the start of the run and monitored throughout.
Stage 4 : Finishing. After printing, the board goes through the finishing process, lamination, foil stamping, embossing, spot UV, or whatever finishing specification has been confirmed. Each finishing process is registered to the dieline to ensure correct placement.
Stage 5 : Die-cutting. The finished, printed, and laminated board is fed through the die-cutting machine. The die board, a physical cutting tool created directly from your dieline, cuts the board into the exact shape of your packaging. Every cut line, every crease line, and every perforation is executed in a single pass.
Stage 6 : Folding and gluing. The die-cut blanks are folded along the crease lines and glued at the glue tabs to form the finished box structure. For rigid boxes, the board is wrapped and bonded separately.
Stage 7 : QC. Finished units are checked against the approved golden sample, structural integrity, finishing registration, colour consistency, dimensional tolerance, and artwork placement. At Xactz, this is an 18-point in-house QC process applied to every production run.
Use this checklist every time you submit artwork to a manufacturer. A complete, correctly prepared submission eliminates the most common causes of production delay.
File format:
Colour:
Structure:
Finishing specification:
Approval:
At Xactz, the dieline process is managed in-house, from structural specification through pre-press, printing, finishing, die-cutting, and QC, across 40,000+ sqm of fully automated and semi-automated manufacturing in Shenzhen and Huizhou.
Dieline provision: For every packaging format Xactz produces, magnetic closure rigid boxes, drawer boxes, lift-off lid boxes, tuck-end folding cartons, window-cut cartons, book-style boxes, belly band formats, and custom modular structures, a manufacturer-specific dieline is provided at the brief stage. You never work from a generic template.
Pre-press: Every artwork file submitted to Xactz goes through a full pre-press check, bleed, safe zone, colour mode, resolution, layer structure, finishing specification, and dimensional accuracy, before it is passed to print. Issues are identified and communicated clearly, with specific guidance on what needs to be corrected and why.
3D digital mockup: Before physical sampling, Xactz provides a digital 3D mockup of the confirmed artwork on the confirmed structure, so you can review the finished appearance of the packaging before a single sheet of board is cut.
Physical sampling: Physical samples are produced in 1–3 business days from confirmed brief for existing structural formats, and 3–5 business days for new structural formats. Samples are produced at the full finishing specification, the same lamination, foil, emboss, and QC standard as the production run.
18-point in-house QC: Every production run at Xactz is subject to an 18-point in-house QC process, covering structural integrity, finishing registration, colour consistency, foil adhesion, emboss depth, dimensional tolerance, and artwork placement. The approved physical sample is the golden standard against which every unit in the run is checked.
| Stage | Timeline |
|---|---|
| Brief confirmation and dieline provision | 1–2 business days |
| Artwork preflight and digital proof | 2–3 business days from confirmed artwork |
| Physical sample, existing structural format | 1–3 business days from confirmed brief |
| Physical sample, new structural format | 3–5 business days from confirmed brief |
| Sample refinement round | 3–5 business days per round |
| Production run | 10–18 days from confirmed sample sign-off |
MOQ: from 100 units, all packaging formats, all finishing combinations.
Xactz operates a dedicated department for personalised small-order production, meaning the startup brand ordering 100 units of a custom folding carton receives the same pre-press rigour, the same dieline accuracy, the same finishing standard, and the same 18-point QC process as the global brand managing a multi-million-unit annual programme.
Quality does not scale down at Xactz. Every order. Every run. Every time.
Xactz is a global leading manufacturer specialising in high-end packaging, with 40,000+ sqm of fully automated and semi-automated production across Shenzhen and Huizhou, China.
| Capability | Detail |
|---|---|
| Total facility footprint | 40,000+ sqm across Shenzhen and Huizhou |
| Production lines | Fully automated + semi-automated |
| Quality control | 18-point in-house QC on every production run |
| Finishing options | 20+ premium finishing options |
| Sample turnaround | 1–3 business days from confirmed brief |
| Production turnaround | 10–18 days from sample approval |
| MOQ | From 100 units |
| Global delivery | 60+ countries |
Certifications:
✅ ISO 9001:2015 : International quality management certification
✅ FSC™ Certified : Responsible and sustainable sourcing Certification Code: SGSHK-COC-332603
✅ TÜV Rheinland Verified Supplier : Independent third-party factory audit
✅ FDA Compliant : Safe for food-contact and consumer use
✅ EU 94/62/EC Qualified : Export qualified for European and global markets
International exhibition recognition:
Xactz has been ranked in the top 5% at three consecutive international packaging exhibitions, Paris Packaging Week 2026, Packaging Innovations & Empack Birmingham 2026, and Packaging Première & PCD Milan 2026, recognised for innovation, quality, and craftsmanship.
Dedicated small-order production department:
As a global leading manufacturer specialising in high-end packaging, Xactz has established a dedicated department for personalised small-order production, committed to supporting the growth of startup companies and growing brands, and ensuring the seamless execution of micro-order solutions for large enterprises. Every order. Every run. Every time.
Whether you are briefing your first custom box or managing a complex multi-SKU packaging programme, the conversation starts with a dieline. And the dieline starts with us.
Tell us the format, the dimensions, the finishing specification, and the substrate. Our pre-press team will provide the correct dieline template, check your artwork, and take it from there.
By Xactz Packaging
Jul 22, 2026
By Xactz Packaging
Jul 22, 2026
By Xactz Packaging
Jul 22, 2026